
Meta log
What I'm learning about the meta
Rather than professional tournament analysis, these are one player's notes, with sample sizes attached so you can judge them for yourself.
Projected tier list
Projected post-Mihawk-ban meta
This is my current read on the leader landscape rather than a ranking built from tournament data. I update it as the meta moves and keep every past version, so you can see how my view has changed.
11 Oct 2026
LATESTMeta-defining
3 leaders
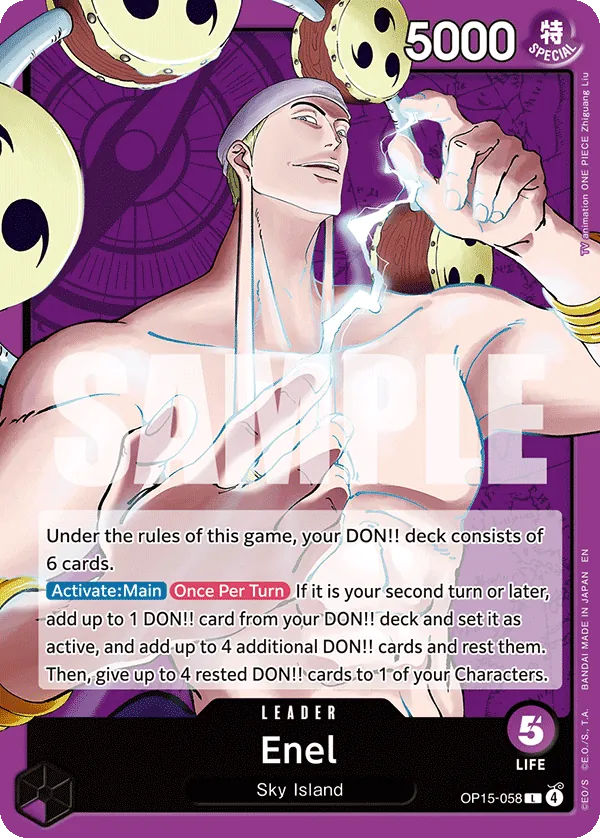
Enel
OP15-058
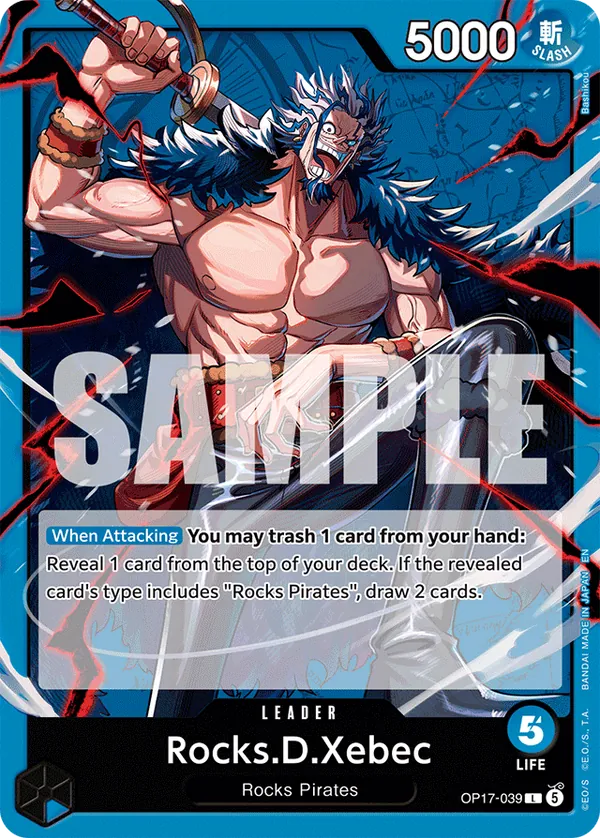
Rocks D. Xebec
OP17-039
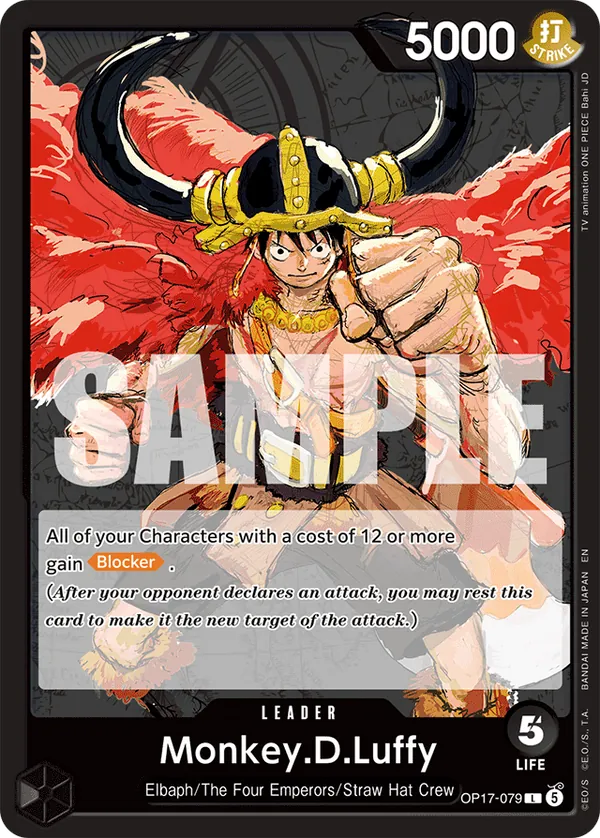
Monkey D. Luffy
OP17-079
Strong picks
6 leaders
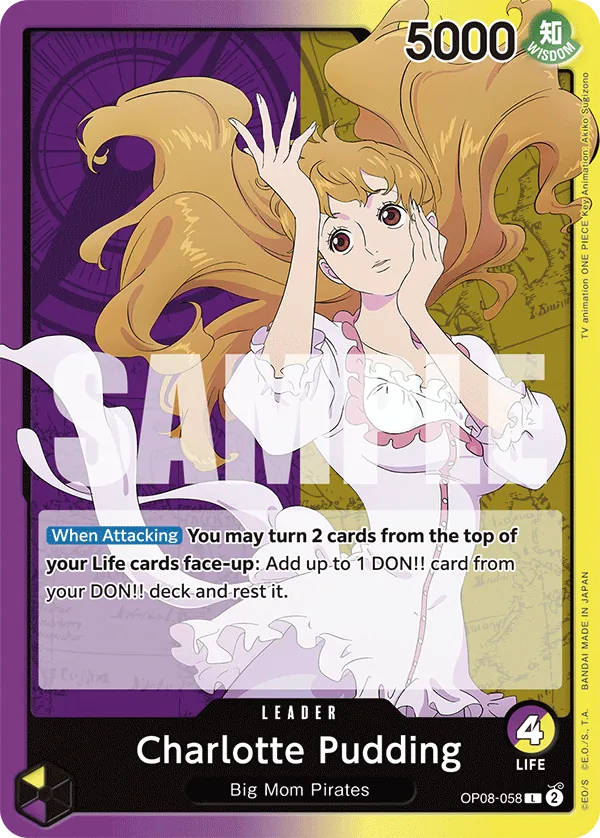
Charlotte Pudding
OP08-058
Sabo
OP13-004
Boa Hancock
OP14-041
Nico Robin
OP09-062
Kaido
OP17-058
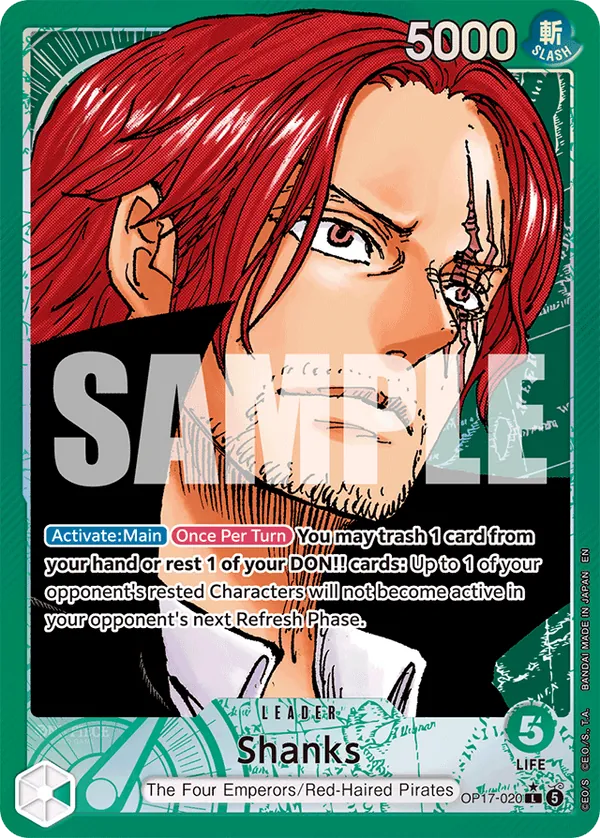
Shanks
OP17-020
Playable
9 leaders
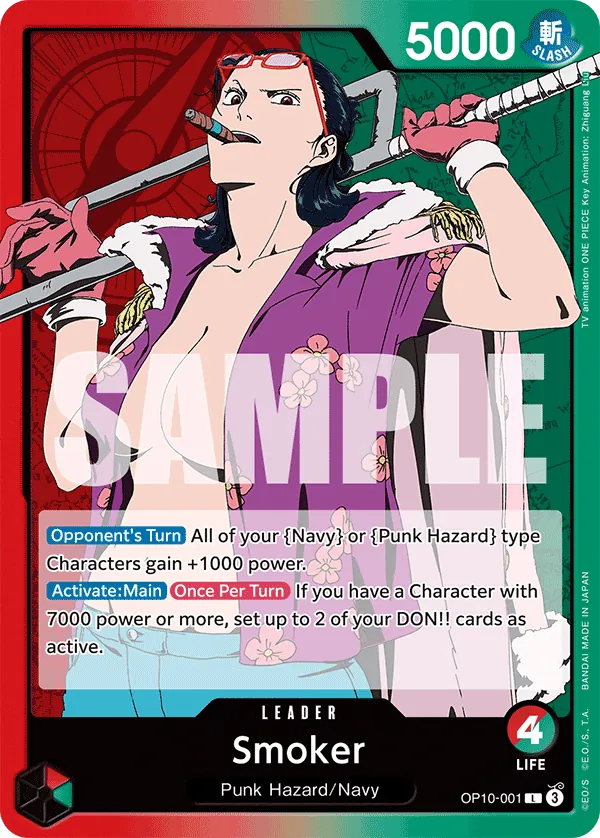
Smoker
OP10-001
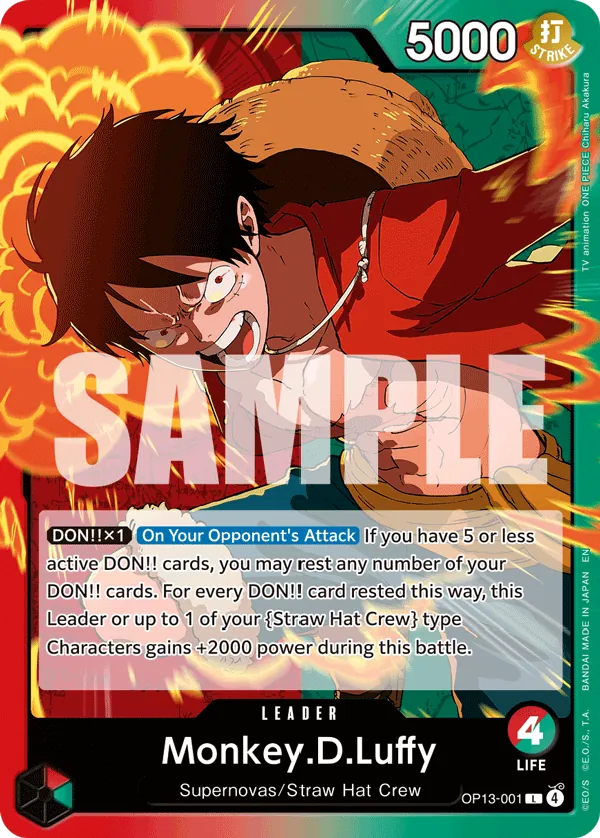
Monkey D. Luffy
OP13-001
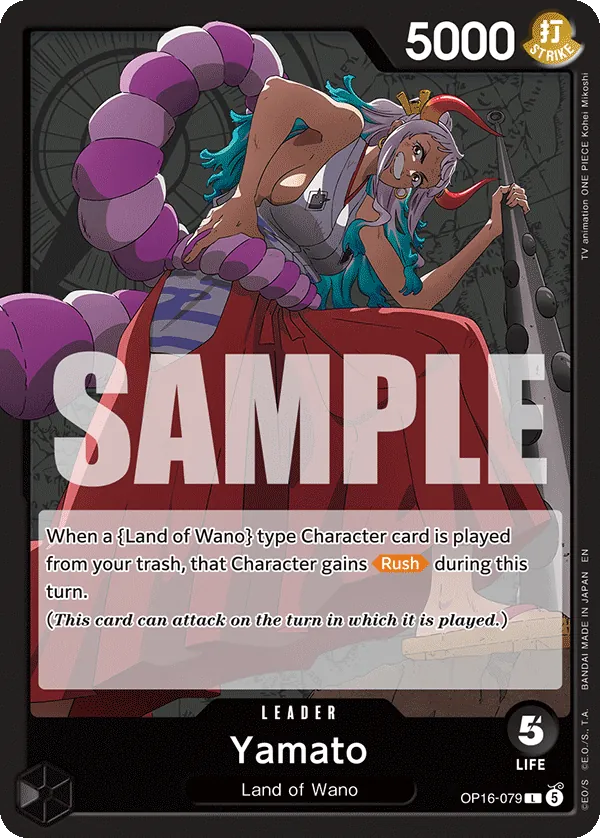
Yamato
OP16-079
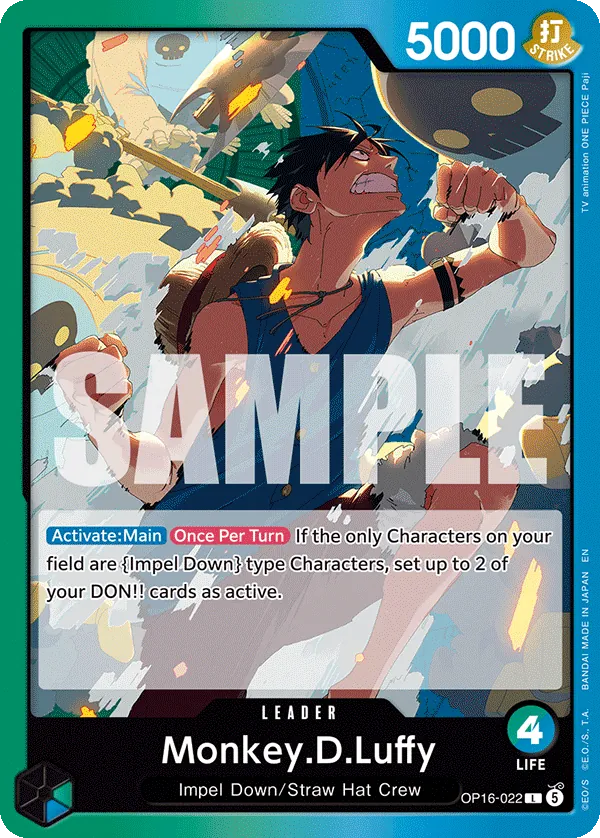
Monkey D. Luffy
OP16-022
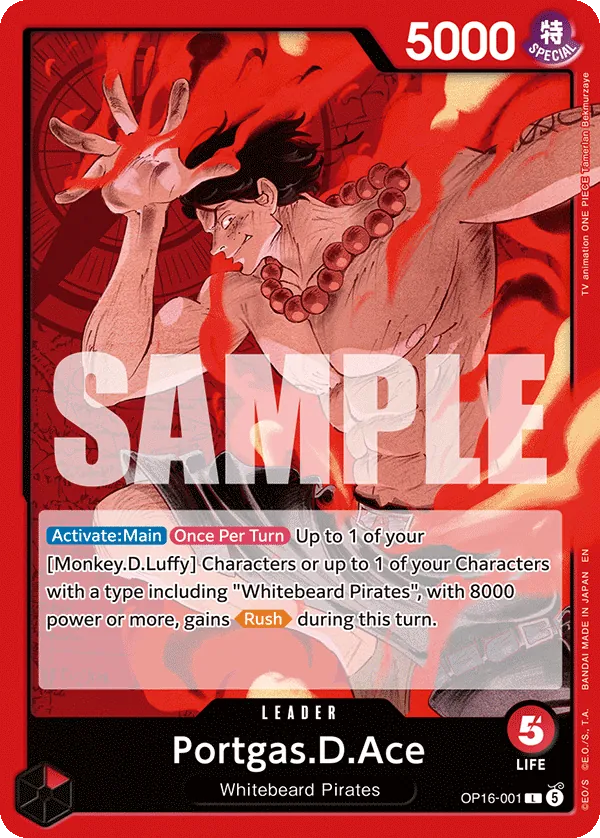
Portgas D. Ace
OP16-001
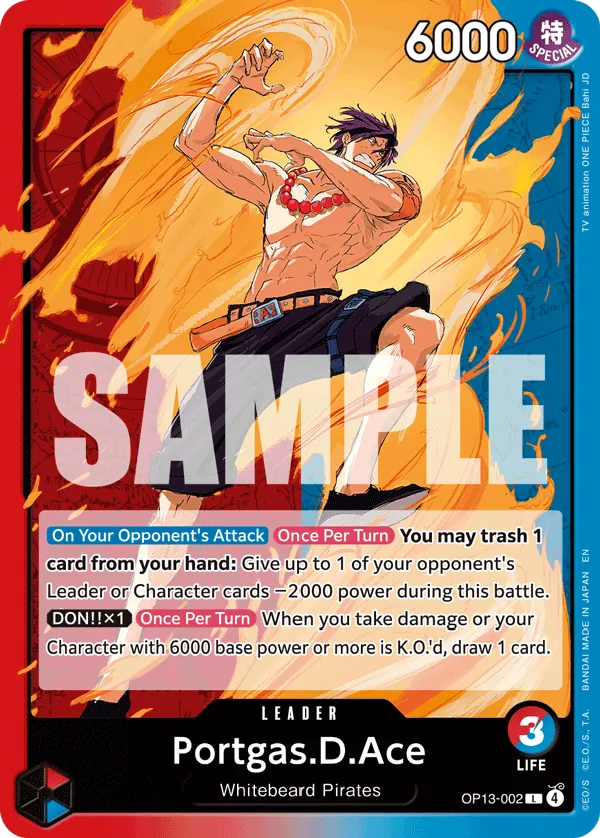
Portgas D. Ace
OP13-002
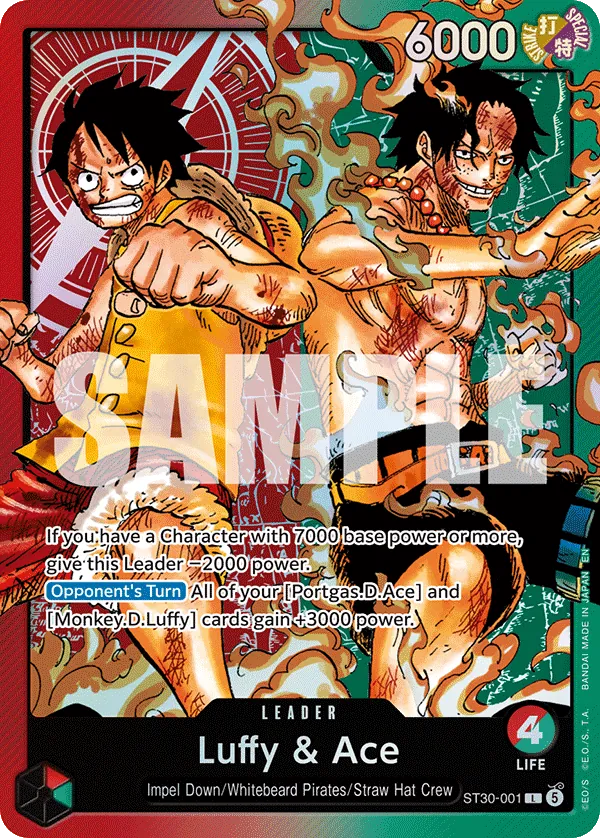
Luffy & Ace
ST30-001
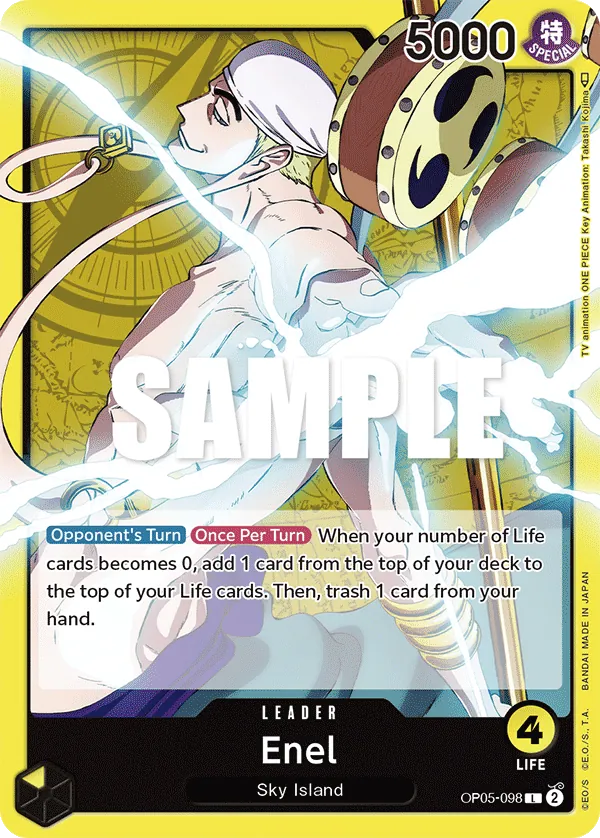
Enel
OP05-098
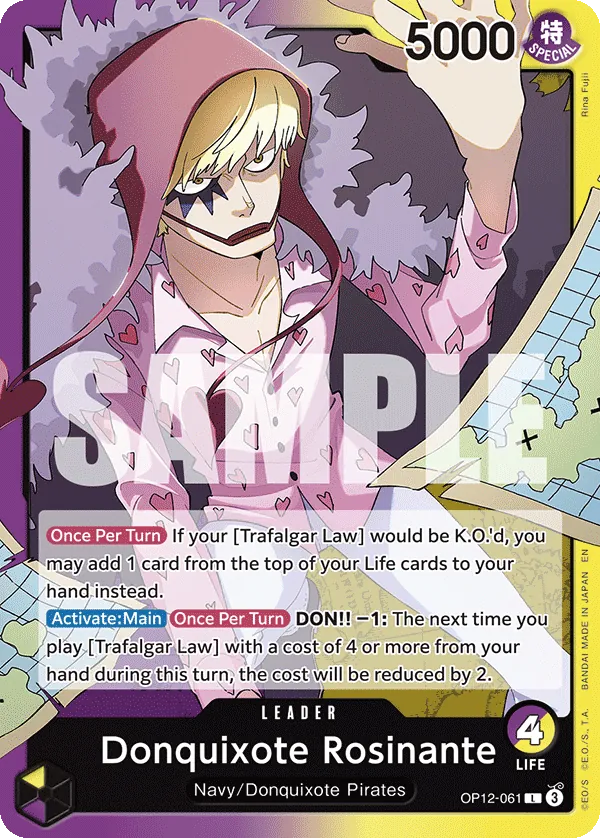
Donquixote Rosinante
OP12-061
Off-meta
8 leaders
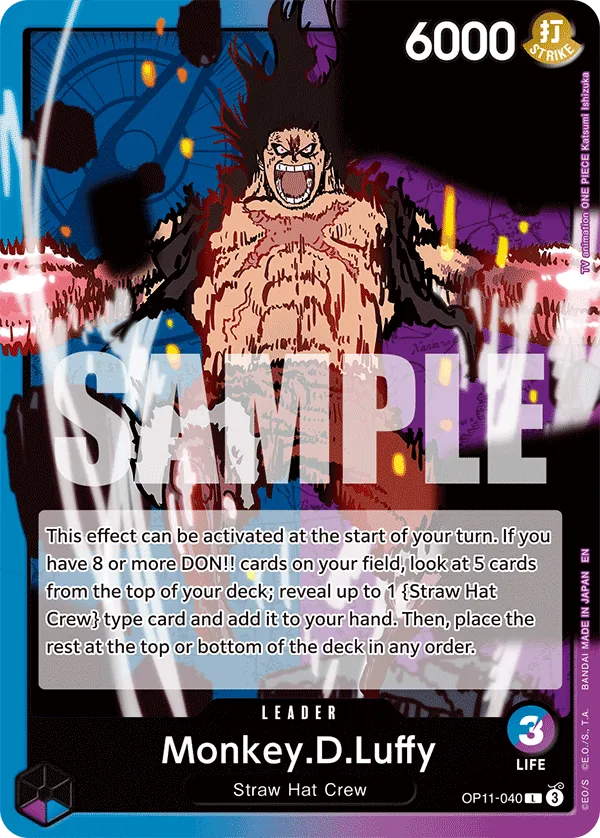
Monkey D. Luffy
OP11-040
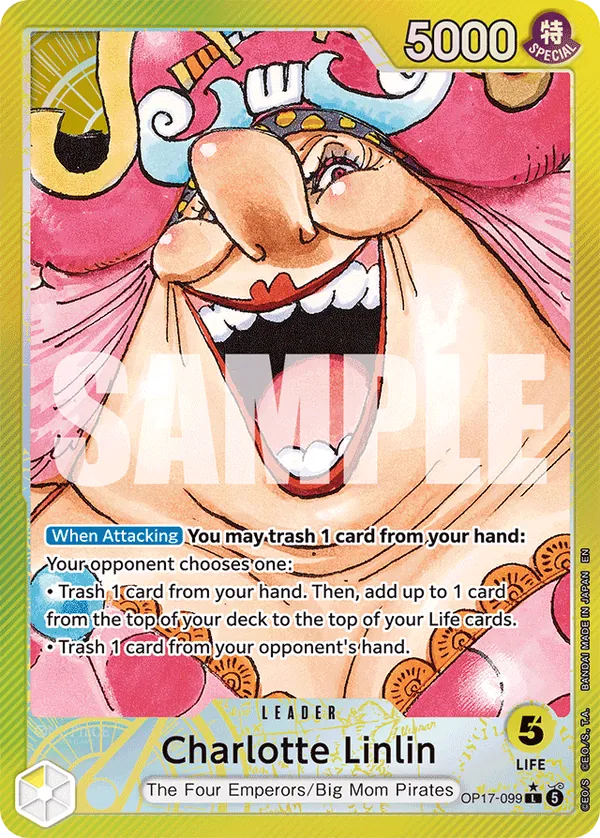
Charlotte Linlin
OP17-099
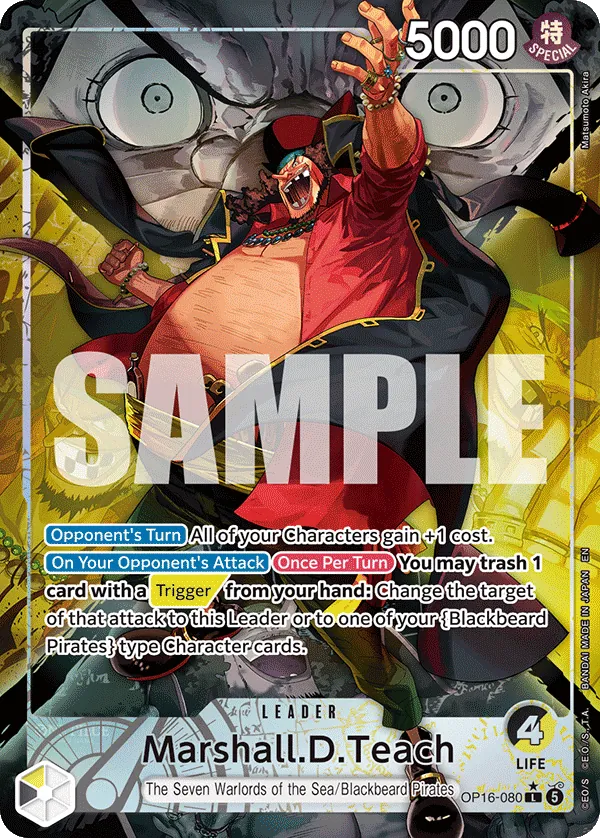
Marshall D. Teach
OP16-080
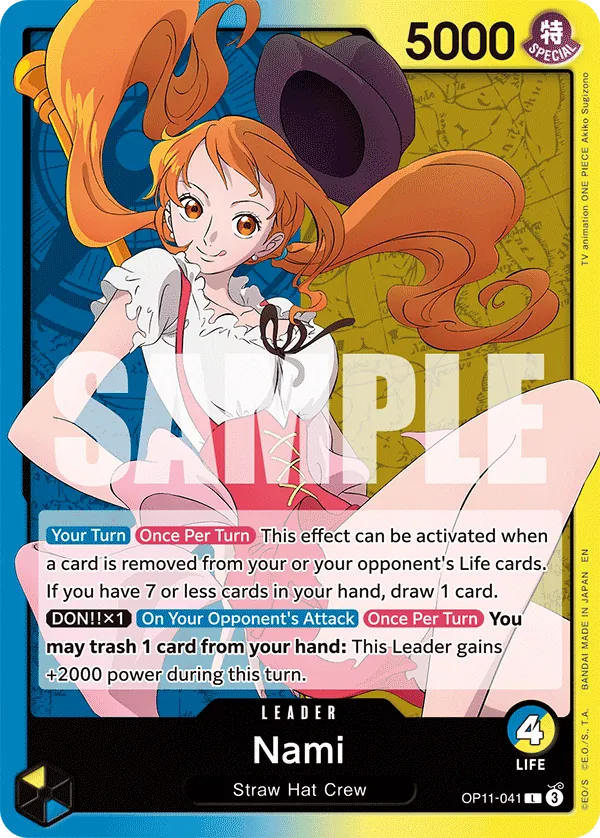
Nami
OP11-041
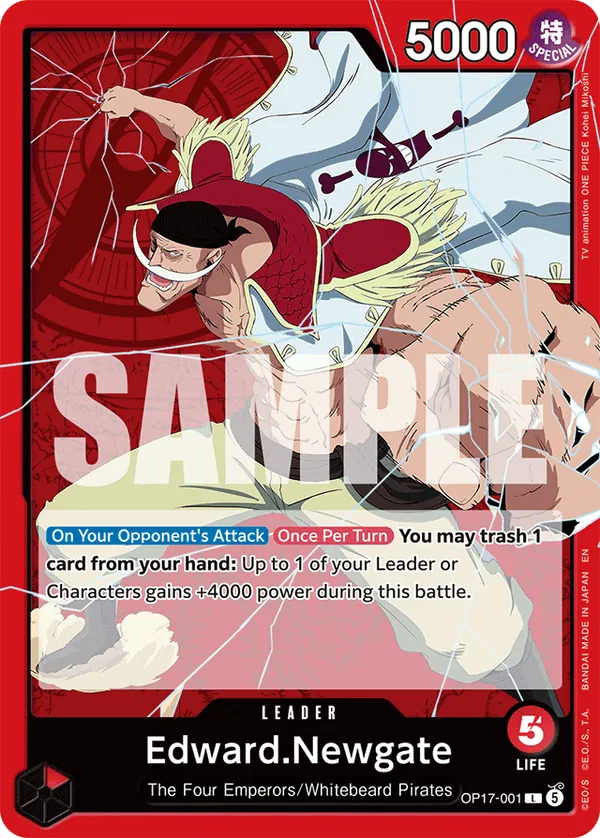
Edward Newgate
OP17-001
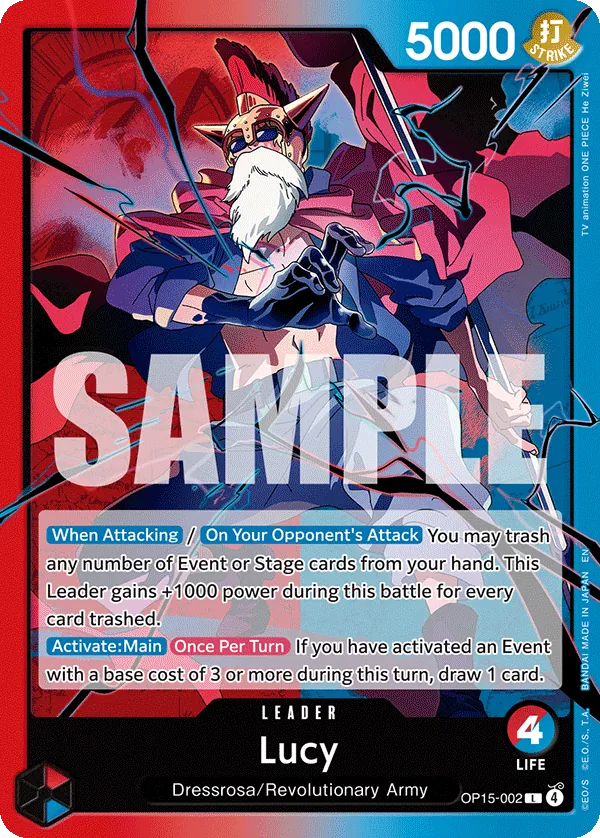
Lucy
OP15-002
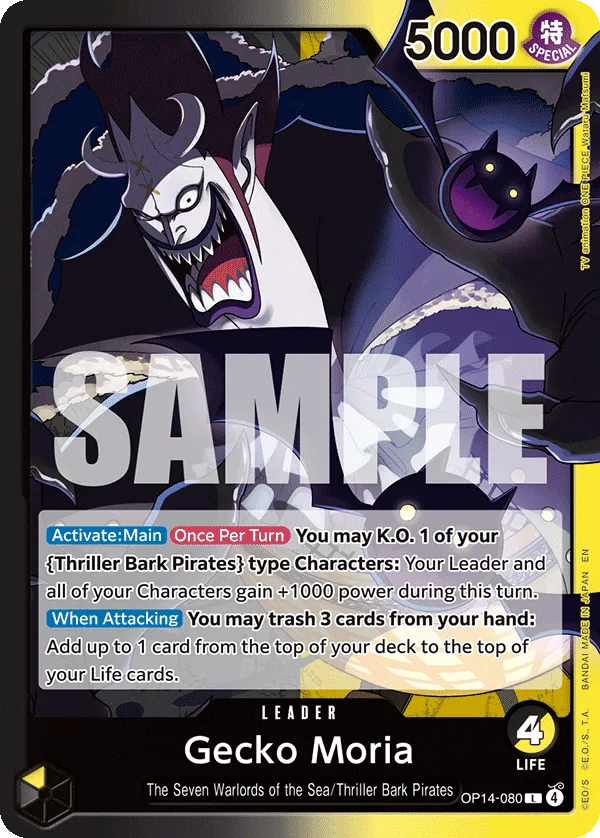
Gecko Moria
OP14-080
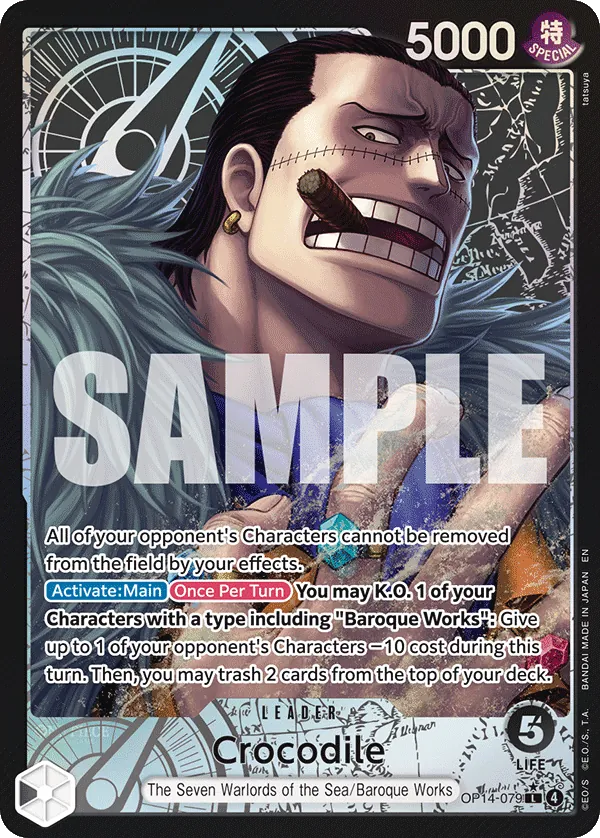
Crocodile
OP14-079
This is only my read, and it could be wrong by next Friday.
First snapshot · Movement arrows start with the next update
All decks · OP17
How each leader wants to play
My condensed notes from the OP17 deck guides I've been reading: the leader effect, the game plan, the DON curve going first and second, and the pitfalls each guide flags. They summarise other players' guides rather than my own testing, and I've marked where I think a guide oversimplifies a card. Open a leader to read the notes.
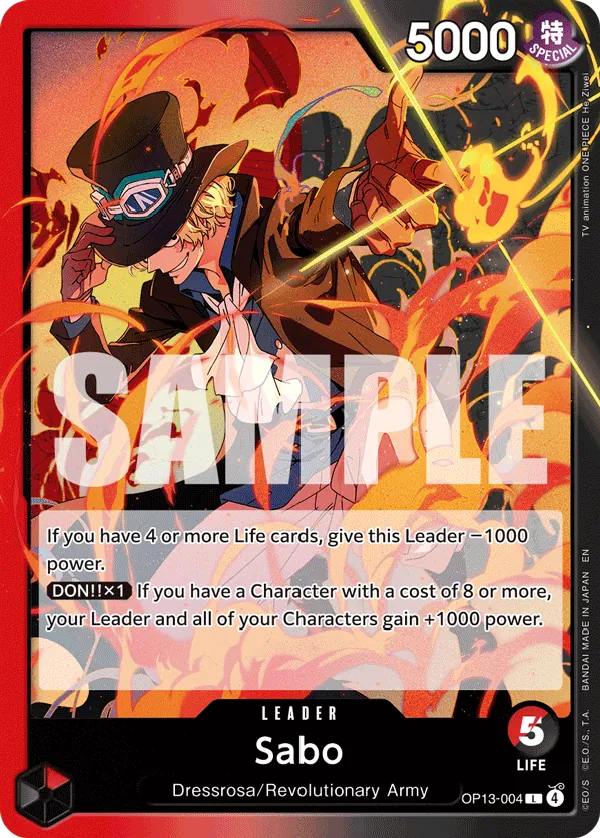
SaboOP13-004
Leader effect
While you have at least 4 Life, Sabo loses 1000 power. With 1 DON attached, if you control a Character costing 8 or more, your Leader and all your Characters gain 1000 power. The leader’s threshold is 8; this deck’s Elbaf package separately rewards having a 12-cost Character.
Game plan
Develop numerous small Elbaf Straw Hats, establish Saul or Loki, and turn the small bodies into meaningful attackers. Finish through Luffy’s Rush and revival effects.
DON curve
Going first
- DON 1either Nami
- DON 3Usopp
- DON 5Saul or Pirates Docking Six
- DON 7Loki, or Docking Six plus Robin
- DON 9Luffy reviving Robin
Going second
- DON 2Usopp or both Namis
- DON 4Saul or two 2-costs
- DON 6Saul, Docking Six, or Loki
- DON 8Luffy reviving Brook
- DON 10Luffy reviving Robin
Tips and pitfalls
- Protect your last Giant and use Zoro to preserve the wide board.
- Brook can attach rested DON to Sabo after spending all 8 DON on Luffy.
- Do not play Loki automatically if keeping DON on Sabo matters more.
- Kong Gun is strongest when you already have attackers established.
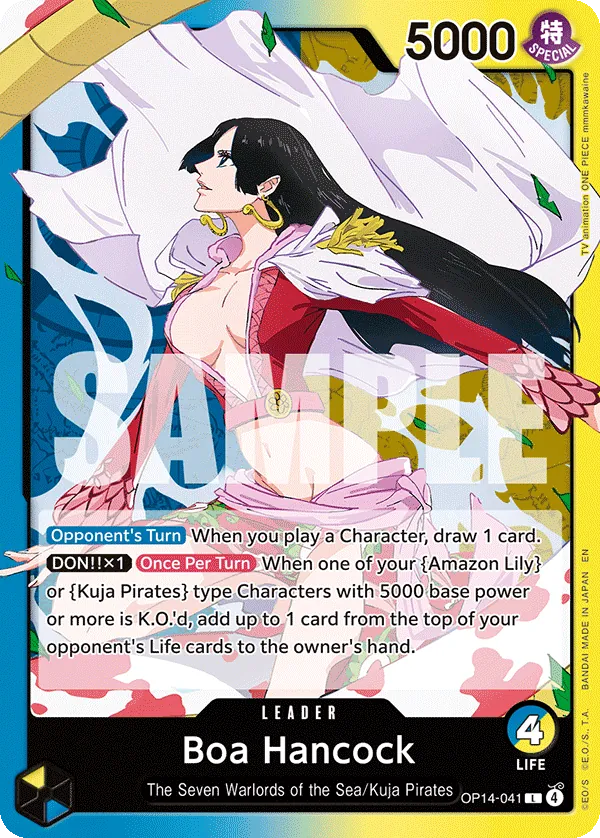
Boa HancockOP14-041Prefers going second
Leader effect
During the opponent’s turn, whenever you play a Character, draw one card. With 1 DON attached, once per turn, when your Amazon Lily or Kuja Pirates Character with 5000 base power or more is K.O.’d, the opponent adds their top Life card to hand.
Game plan
Arrange useful Life Triggers, develop Characters during opposing turns, and replenish your hand. Healing and the K.O. punishment make attacking into your position awkward.
DON curve
Going secondPreferred
- DON 2Hiyori
- DON 4Ran or Zoro
- DON 6Nami OP11-054
- DON 8Teach OP16-119
- DON 10Teach or Hancock OP14-112
Going first
- DON 1no play
- DON 3Pudding OP17-109
- DON 5Zoro, with the remaining DON on the Leader
- DON 7Gorgon Sisters
- DON 9Teach or Hancock
Tips and pitfalls
- Nami can arrange a future Trigger for Teach to put into Life.
- Preserve the DON attachment needed for the K.O. effect.
- Bounce and bottom-deck removal bypass that punishment.
- Perfume Femur provides an unblockable finishing attack.
Portgas.D.AceOP16-001Prefers going second
Leader effect
Activate: Main, once per turn: Give Rush for the turn to up to one of your eligible Characters with 8000 power or more: a Monkey.D.Luffy Character or a Character whose type includes Whitebeard Pirates. No DON payment is printed.
Game plan
Find pieces with Garp and Moby Dick, establish defensive Luffy, then deploy large Characters that attack immediately. The Newgates strengthen the Leader while maintaining offensive pressure.
DON curve
Going first
- DON 1Garp or Moby Dick
- DON 3more searching or Rakuyo
- DON 5Luffy OP16-015
- DON 7Vista
- DON 9Newgate OP16-003
- DON 10either Newgate
Going secondPreferred
- DON 2Garp plus Moby Dick
- DON 4Luffy
- DON 6Marco or Vista
- DON 8Newgate OP16-003
- DON 10Newgate OP16-003 or OP17-005
Tips and pitfalls
- Keep 8000-power cards available as fuel for defensive, revival, and reveal effects.
- Attach DON to Vista before granting Rush when his attack can clear small Characters.
- Marco protects against removal, but not rest/freeze.
- Do not automatically prioritize the newer Newgate; the older one supplies Leader pressure and Double Attack.
- Opposing 10000-power Characters enable the newer Newgate’s discount.
Luffy & AceST30-001Prefers going second
Leader effect
If a Character with at least 7000 base power is in play, this 6000-power Leader loses 2000 power. During the opponent’s turn, your cards named Portgas.D.Ace and Monkey.D.Luffy gain 3000 power.
Game plan
Search for the Luffy–Sanji engine, deploy several attackers cheaply, then preserve that board for repeated attacks.
DON curve
Going secondPreferred
- DON 2searchers
- DON 4Luffy OP12-015, reveal two Events to play Sanji ST31-001, then use Sanji to play another eligible Luffy
Going first
- DON 1searcher
- DON 3further searching/setup
- DON 5the combo
Extended combo
A second OP12 Luffy and Sanji can extend the chain to five Characters. The guide describes this as less consistent on the first combo turn.
Later turns
No fixed 6/8/10-DON sequence is supplied; apply pressure while retaining resources for defensive Events.
Tips and pitfalls
- OP12 Luffy is the crucial search target.
- Sequence rested-DON attachments carefully to enable Sanji’s Rush.
- Repeated 7000-power attacks drain Counters.
- The listed build has no 2000 Counters or Blockers, so automatically spending every DON can leave it exposed.
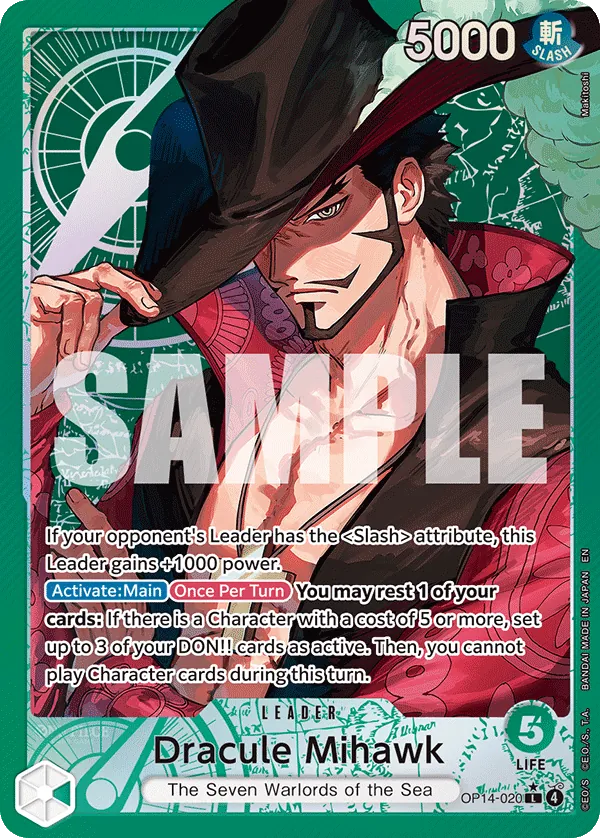
Dracule MihawkOP14-020
Leader effect
Gain 1000 power against an opposing Slash Leader. Activate: Main, once per turn: Rest one of your cards; if a Character costing 5 or more is in play, ready up to three DON. Afterwards, you cannot play Character cards from hand for the remainder of that turn.
Game plan
Establish a draw engine, deploy ST32 Mihawk into useful 5-cost Slash Characters, and use recovered DON for attacks, control Events, and defense.
DON curve
Going first
- DON 1Kin’emon or Perona
- DON 3draw/search
- DON 5Oden or Smoker
- DON 7ST32 Mihawk into a 5-cost
- DON 9ST16 Shanks or another Mihawk deployment
- DON 10Law & Bepo or OP17 Shanks
Going second
- DON 2Perona plus Kin’emon
- DON 4draw engine
- DON 6Mihawk into a 5-cost
- DON 8repeat plus setup
- DON 10Law & Bepo or Shanks
Tips and pitfalls
- Finish your Character plays before activating the Leader.
- First-turn Kin’emon can rest the Leader without sacrificing an attack.
- Count rested cards before relying on Trichiliocosm.
- Coffin Boat preserves defensive DON.
- Use Shanks to move from buying time into a finishing attack.
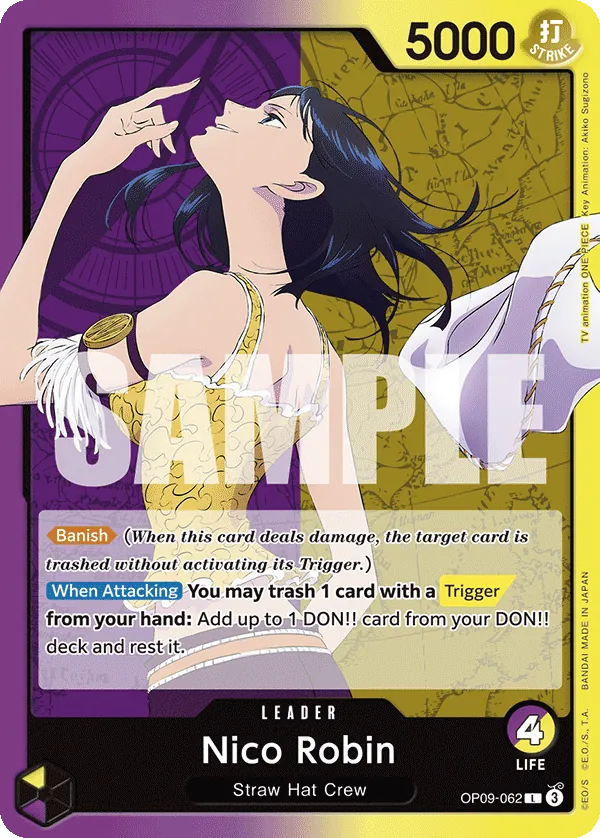
Nico RobinOP09-062Prefers going first
Leader effect
Banish: Life damaged by this Leader is trashed without activating its Trigger. When attacking: You may trash a card with Trigger from hand to add up to one DON from your DON deck, rested.
Game plan
Combine Banish pressure with rapid ramp, develop Big Mom Pirates bodies, then use 10-cost Linlin to turn the established Trigger board into powerful attackers.
DON curve
Going firstPreferred
- DON 1Pudding OP11-070
- DON 3Pudding OP17-109, then Leader attack/ramp
- DON 6It’s to Die For♡ plus Oven
- DON 10Linlin OP17-112
Going second
- DON 2Streusen plus searcher Pudding
- DON 4draw-three Pudding plus Leader ramp
- DON 7attach three DON to Robin, attack/ramp, and develop Oven
- DON 10Linlin
Tips and pitfalls
- Use Pudding to place a useful revival target in the trash for Oven.
- Banish can force the opponent to spend Counters early.
- Avoid ramping so aggressively that you empty your hand.
- Gum-Gum Giant converts an unwanted card into defense and draws once your DON engine is established.
- Aggression can punish you before healing arrives.
Edward.NewgateOP17-001
Leader effect
On the opponent’s attack, once per turn: You may trash one hand card to give up to one of your Leader or Characters 4000 additional power for that battle.
Game plan
A defensive “tank” approach, combining the Leader’s protection with support that increases base power. (Game plan as stated by the page.)
DON curve
DON curve
Not provided, for either starting position.
Charlotte LinlinOP17-099Prefers going second
Leader effect
When attacking: You may trash one hand card. The opponent then chooses between: you trashing another hand card and adding up to one top-deck card to the top of your Life, or trashing one card from the opponent’s hand.
Game plan
Extend the game through healing and Trigger development, then deploy 10-cost Linlin to strengthen the qualifying 4000-base-power Trigger Characters.
DON curve
Going secondPreferred
- DON 2Streusen
- DON 4Oven
- DON 6Katakuri
- DON 8Perospero playing Katakuri, with Perospero gaining Rush
Going first
- DON 1Streusen
- DON 3Pudding
- DON 5Cracker, optionally paying its healing requirement
- DON 7Perospero into Katakuri
Tips and pitfalls
- Preserve enough hand resources for the Leader.
- Oven discourages K.O. removal by providing another body.
- Starvation—an opponent withholding Life attacks—reduces access to Triggers; the small bodies are vulnerable before the finisher.
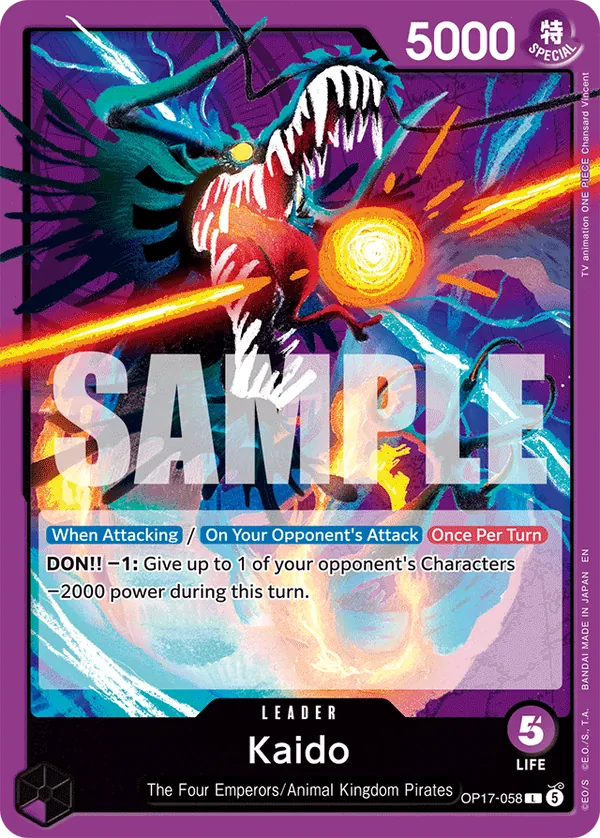
KaidoOP17-058
Leader effect
When attacking / on the opponent’s attack, once per turn: Pay DON −1 to reduce up to one opposing Character’s power by 2000 for the turn.
Game plan
Ramp into King, reach 10 DON quickly, then repeatedly deploy large defensive and control threats while recovering DON spent on effects.
DON curve
Going first
- DON 1search/setup
- DON 3Yamato, reaching 4 DON
- DON 6King, reaching 8
- DON 10usually Kaido OP17-062
Going second
- DON 2preparation
- DON 4Queen EB04-032, reaching 5
- DON 7King, reaching 9
- DON 10select the appropriate late-game threat
Recovery
Drunken Dragon Bagua provides a catch-up route when the ramp sequence fails; Basil Hawkins is another backup.
Tips and pitfalls
- Mulligan for the ramp sequence rather than an impressive collection of finishers.
- Usually keep the first 12K Kaido active as a Blocker.
- Track DON −X payments before planning the next large deployment.
- Sasaki is primarily a 2000 Counter, not the default ramp plan.
- Slow-Slow Beam Sword can punish an opponent who attacks with their Leader before their Characters.
Monkey.D.LuffyOP17-079Prefers going second
Leader effect
Your Characters costing 12 or more gain Blocker. The leader does not itself grant their power increases.
Game plan
Build large Blockers, fill and reuse the trash, and exhaust opposing resources while the small Elbaf Characters provide repeated attacks.
DON curve
Going first
- DON 1usually no play
- DON 3Usopp, or Rodo into Franky
- DON 5Docking Six or Saul
- DON 7Loki or Kong Gun
- DON 9Luffy reviving an appropriate 2-cost
Going secondPreferred
- DON 2Usopp
- DON 4Saul or two 2-costs
- DON 6Loki, or Docking Six plus Thousand Sunny
- DON 8Luffy and a revived 2-cost
- DON 10+board-dependent
Tips and pitfalls
- Keep Loki active when its defensive value exceeds an attack.
- Searchers also fill the trash for Zoro, Gerd, Docking Six, and Luffy.
- Choose revival targets deliberately: Robin for power reduction, Brook for hand pressure, or defensive/recycling options.
- Sunny raises Docking Six from its modified 11 cost to 12, enabling Blocker.
- The guide explicitly recommends a more patient approach than Sabo.
ShanksOP17-020Prefers going second
Leader effect
Activate: Main, once per turn: Either trash one hand card or rest one DON. Up to one already-rested opposing Character does not become active during the opponent’s next Refresh Phase.
Game plan
Search for the control sequence, rest opposing Characters, attack or remove them, and freeze a surviving threat.
DON curve
OP17 · Going first
- DON 1Limejuice
- DON 3search and Leader attack/freeze
- DON 5Yasopp
- DON 7Benn.Beckman
OP17 · Going secondPreferred
- DON 2search Event plus Limejuice
- DON 4Lucky.Roux
- DON 6Yasopp
- DON 8Benn.Beckman
- DON 10OP17 Shanks
OP17.5 · Going first
- DON 1Perona/Limejuice
- DON 3flexible searching/attacking
- DON 5Oden, Yasopp, or Roux
- DON 7Beckman
- DON 9ST16 Shanks
- DON 10OP17 Shanks
OP17.5 · Going second
- DON 2searcher
- DON 4Hongo/Roux
- DON 6Law, returning Limejuice and deploying Oden/Yasopp rested
- DON 8Beckman
- DON 10Shanks
Tips and pitfalls
- Prioritize board control over automatic Life attacks; race more against Rocks and Luffy & Ace.
- Recover Limejuice as a Counter through Law.
- Crone Oli protects Red-Haired Pirates, not Oden or Law.
- Use Shanks’s refunded DON for freeze, defense, or attack power.
Rocks.D.XebecOP17-039
Leader effect
When attacking: You may trash one hand card, then reveal your top deck card. If its type includes Rocks Pirates, draw two cards. No once-per-turn restriction is printed.
Game plan
Maintain hand flow through a heavily Rocks Pirates deck, answer the opposing board, then use the 10-cost Rocks Character for flexible multiple deployments.
DON curve
Going first
- DON 1Streusen
- DON 3Leader effect plus Don Marlon recovery
- DON 5Linlin
- DON 7Shiki or a more appropriate answer
- DON 9Newgate plus Stussy
- DON 10Rocks into suitable Characters
Going second
- DON 2Kyo
- DON 4Captain John, Wang Zhi, or Kaido
- DON 6Newgate
- DON 8Shiki
- DON 10Rocks, commonly into Newgate plus Stussy
Tips and pitfalls
- Treat that curve as guidance, not an obligation.
- Discard defensive Events when Don Marlon can retrieve them.
- Limit off-type tech cards because they reduce reveal reliability.
- Preserve Kyo for removal protection.
- Keep 10-cost Rocks as a Counter when further deployment is unnecessary.
- Save the DON required for an unblockable finishing line.